E-mail notification when a file is uploaded
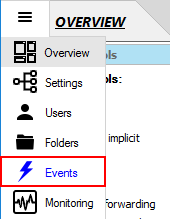
- Select the 'Events' panel from the side-bar menu.
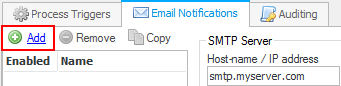
- Select the 'Email Notifications' tab at the top of the panel.

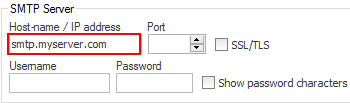
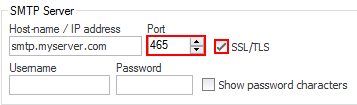
- Enter the mail server (SMTP server) settings.
- Specify the server's hostname/IP address, e.g. 'smtp.myserver.com'.
- Specify the port number (normally port 25)
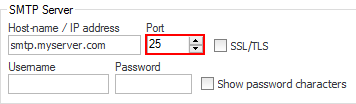 If you enable SSL connections by checking the "Enabled SSL/TLS" checkbox, the port number
will most likely need to be changed - the default SMTP SSL port is 465.
If you enable SSL connections by checking the "Enabled SSL/TLS" checkbox, the port number
will most likely need to be changed - the default SMTP SSL port is 465.
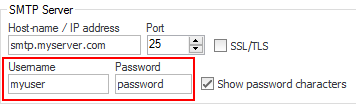
- Specify the SMTP username and password.
- Click the 'Add' button to create a new email notification.
- Select the email notification you just created, it's probably called 'New email notification 1'.
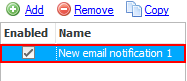
- Enter an appropriate name for this email notification, e.g. 'New file upload'.

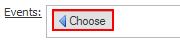
- In the 'Events' section, click the 'Choose' button.
- Then select the 'Upload file' from the menu.
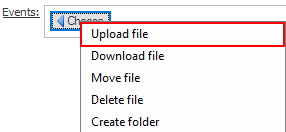 Once the event type is selected, extra fields appear below.
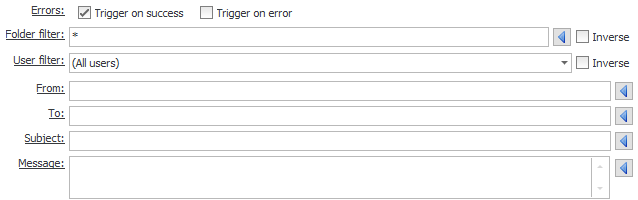
- Select the 'Trigger on success' checkbox (it is selected by default).

- Enter the folder- or file-path filter, which will then select the files/folders for which the event should be triggered.
E.g. the filter 'Home/*' will match all files/folders under the /Home folder.
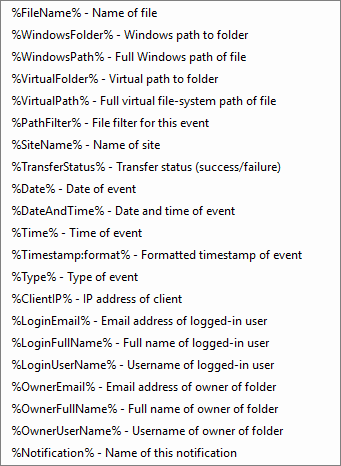
 Macros can be selected via the folder filter's left arrow button.

- Select users for which an event should occur, from the 'User Filter' dropdown list. By default, all users are selected.

- Select sites for which an event should occur, from the 'Site Filter' dropdown list (Enterprise MFT only).
By default, all sites are selected.

- Enter the email address for which the email notification is to be sent from, e.g. 'from@myserver.com'.
 Macros can be used and selected with the left arrow button.

- Enter the email address the email notification is to be sent to, e.g. 'to@myserver.com'.
Macros can also be used here. The list of macros is the same as the 'From' field's.

- Enter the subject of the notification message. E.g. 'A new file has been uploaded" %FileName%'.
 Various macros can be used here. Click the Subject's left arrow button to select them.
- Enter the body of the notification message. E.g. 'A new file has been uploaded: User = %LoginUserName%, Path = %VirtualPath%'. Various
macros can also be used here. The list of macros is same as the Subject's.

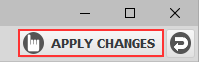
- Finally, click the 'Apply changes' button at the top right of the CompleteFTP Manager.