Add a Windows user (Professional edition and greater)
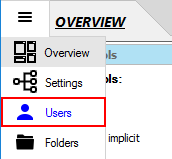
- Select the 'Users' panel from the side-bar menu.
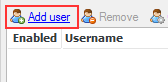
- Click the 'Add user' link at the top of the panel.
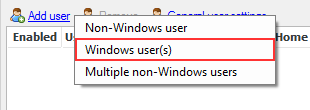
- Select 'Windows user(s)' from the menu.
- In the 'Add Windows Users' dialog box, you can choose either to:
(1) Add server's local users.
 OR (2) add domain users. Enter the name of the domain.
 Note: for domains with a very large number of users, the size of the list can be restricted and/or a filter can be provided to reduce the number of users listed.
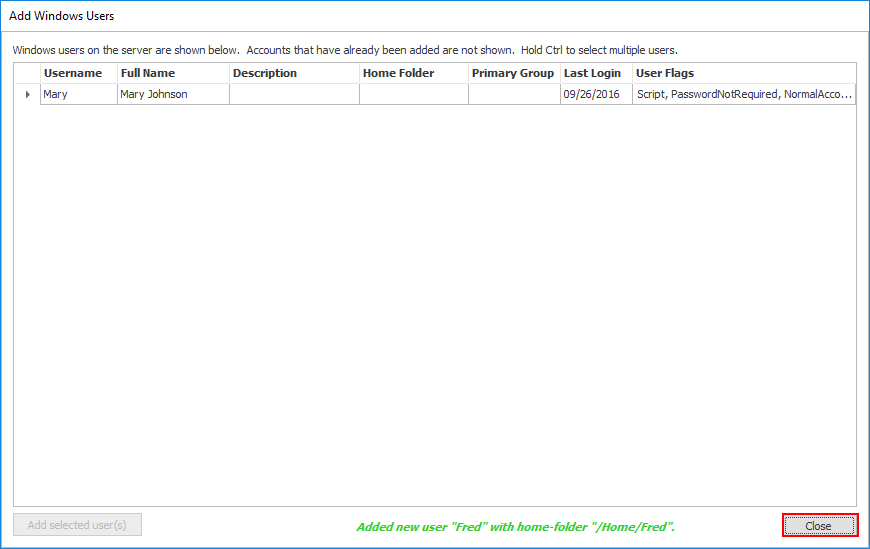
- In the 'Add Windows Users' dialog box, select the user, e.g. 'Fred', to be added from the list.

- Select the way you want the user's home folder to be created. There are two options here:
(1) Automatically create the user's home folder by checking the 'Automatically create home folders' checkbox (It's selected by default).
 (2) Manually create the user's home folder by un-checking the 'Automatically create home folders' checkbox.

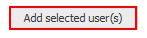
- Click the 'Add selected user(s)' button, however if you checked 'Automatically create home folders' then skip to step 9.
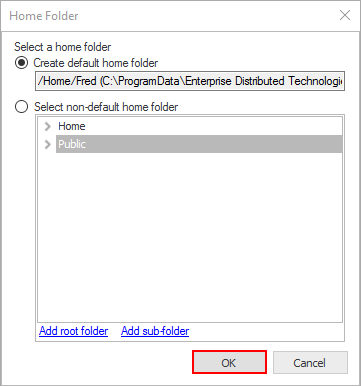
- In 'Home Folder' dialog box, select the user's home folder (default or non-default one) manually. Then click 'OK'.
- Click the 'Close' button.
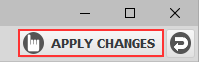
- Click the 'Apply changes' button at the top right of the CompleteFTP Manager.
 The users are now successfully added to the CompleteFTP server and displayed in the user list.
