CompleteFTP allows events to be triggered according to a user-specified schedule. This schedule may consist of a sequence of specific times or of a repeated pattern. There are three ways to define a pattern: by even time intervals, by days of the week or by a cron expression.
Schedules may be defined using the Set Schedule dialog. This is accessed on the Process Triggers panel by selecting the Change link next to the "Scheduled" checkbox of the event.
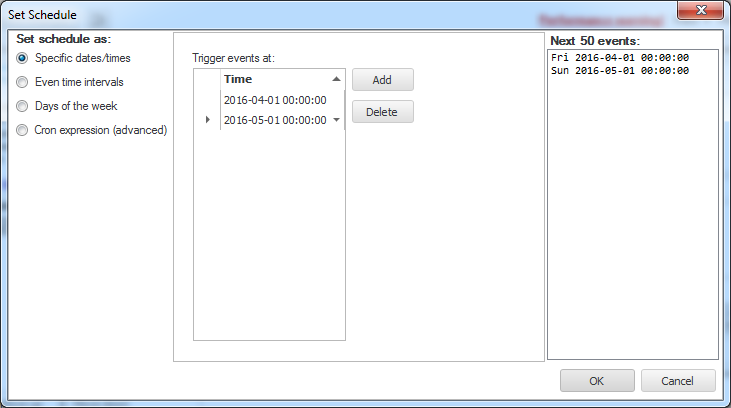
The four methods of setting a schedule are listed on the left. When one of these is selected the editor for that method will be displayed in the centre. On the right is a list of the next (up to) 50 times that the defined event will be triggered.
A schedule of specific times is defined by creating a list of dates and times using the following interface:

The 'Next 50 events' list will only list future events and a warning will be shown when OK is pressed if there are no future events.
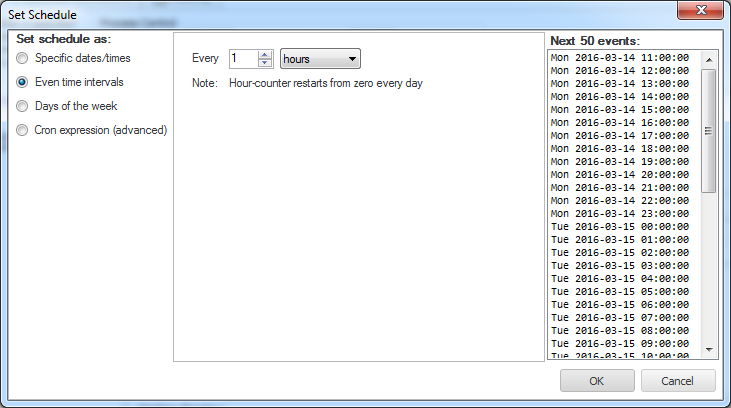
This is the easiest way to define an event that is to be trigged every n seconds, minutes, hours, days or months.

It's important to note that the counter restarts from zero when it passes the maximum value of the particular unit that is selected. For example, if 23 minutes is selected and the time is currently 13:11 then the event will trigger at 13:23, then 13:46 and then again at 14:00. It's therefore best to use factors of the maximum value, such as 30 seconds, 15 minutes or 6 hours.
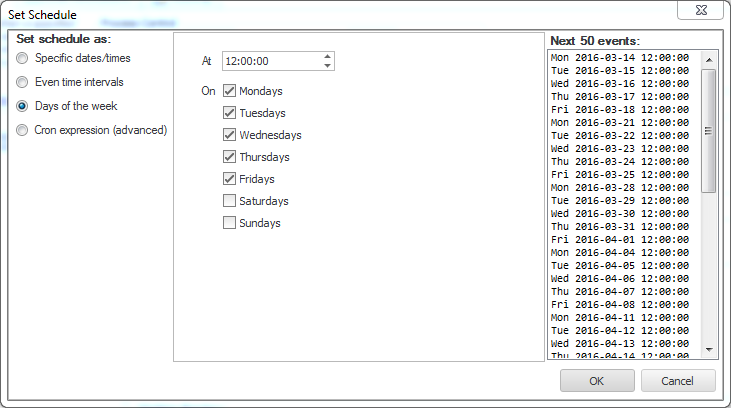
Events may be specified to trigger at a certain time on specific days of the week. For example, at noon on weekdays:

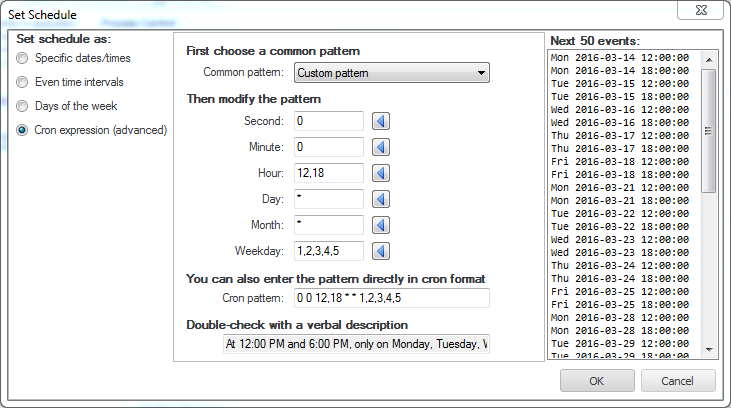
If none of the simpler methods of defining schedules cover your requirements then cron expressions probably will. Cron expressions are a powerful concept often used in Unix-like operating systems. Please refer to this Wikipedia article for an explanation. Note however that CompleteFTP's cron expressions also includes seconds.
The interface for specifying cron expressions allows you to select a common pattern from the list at the top. If this doesn't meet your requirements then it may be customized by modifying each of the components in turn. The button to the right of each component text-field allows you to select from a set of common values for that field. You may also edit the cron expression directly in the text-field labelled 'Cron pattern'. The field at the bottom provides a verbal description of the current cron expression.

For an example on creating a process trigger for scheduled event, please refer to Step-by-step guide: Add a scheduled task.